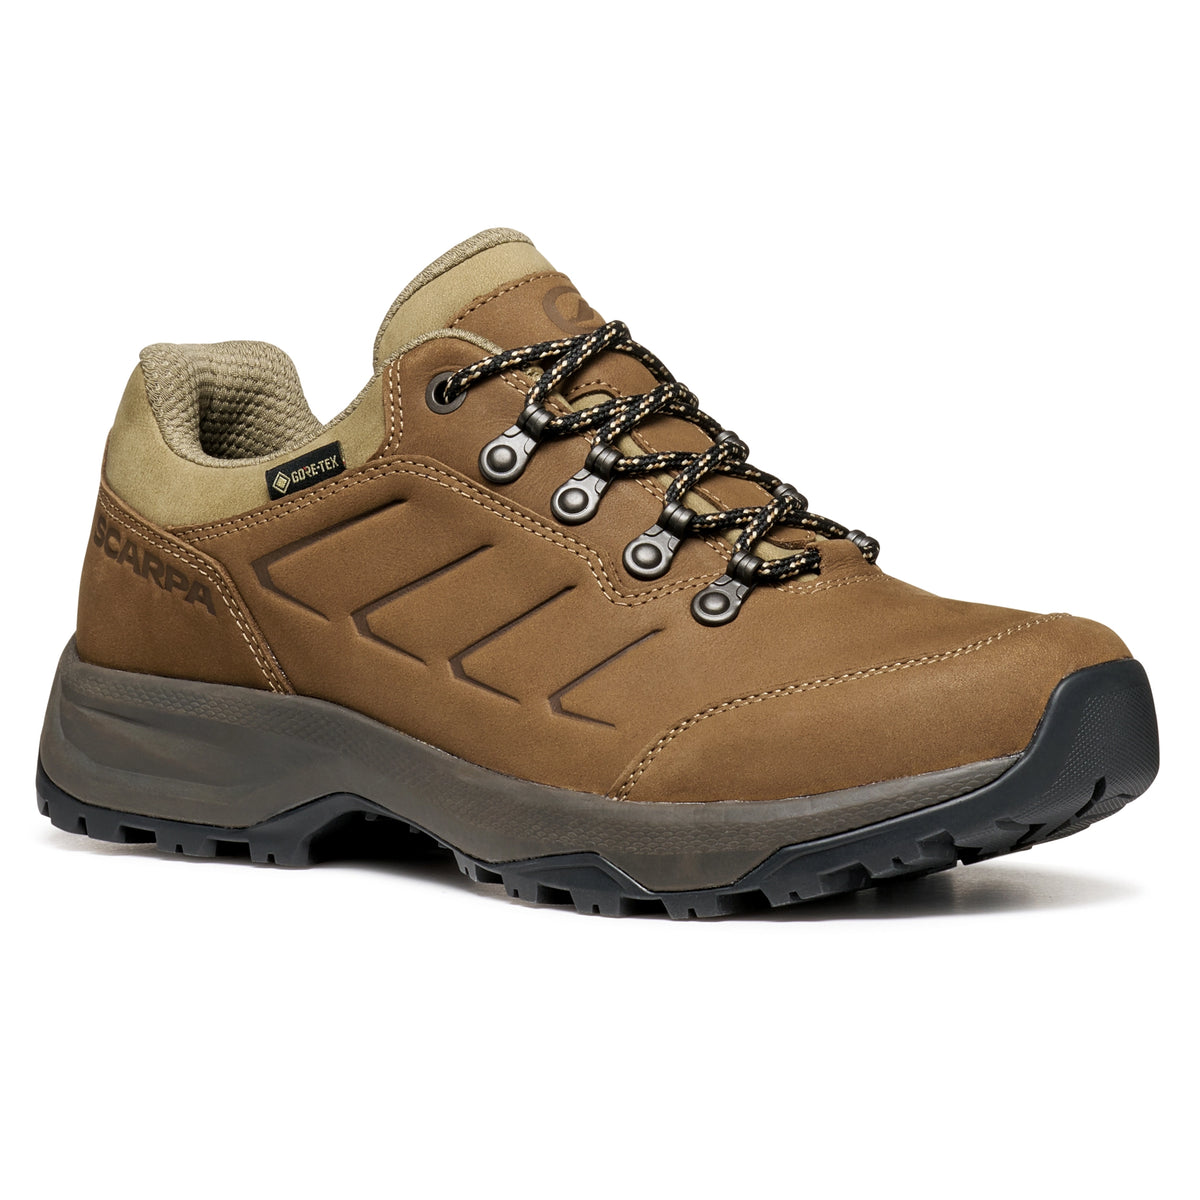
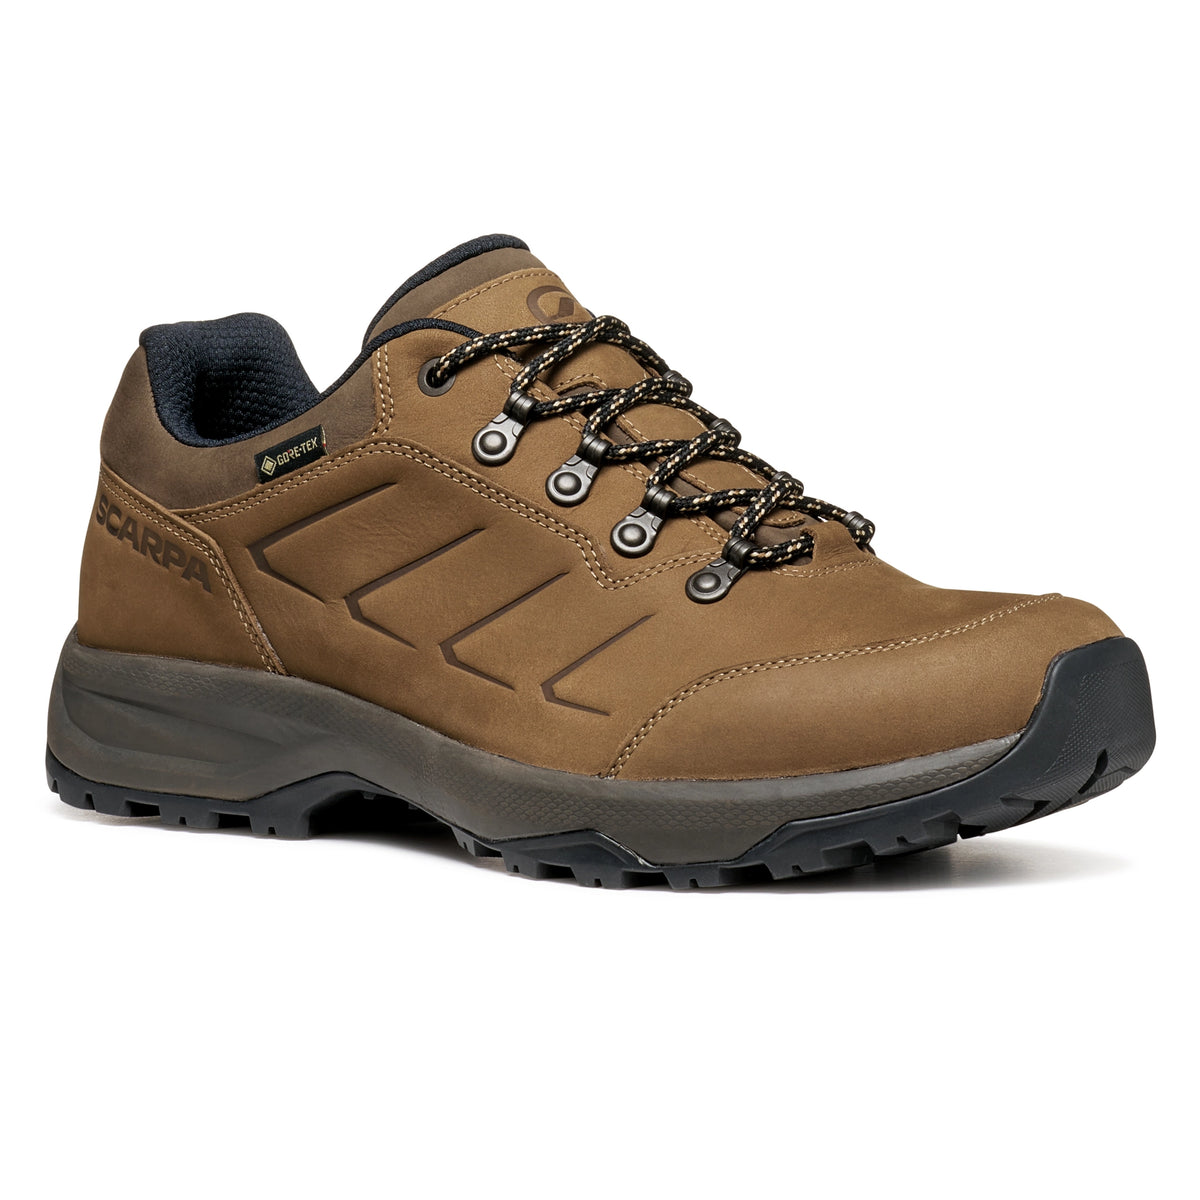
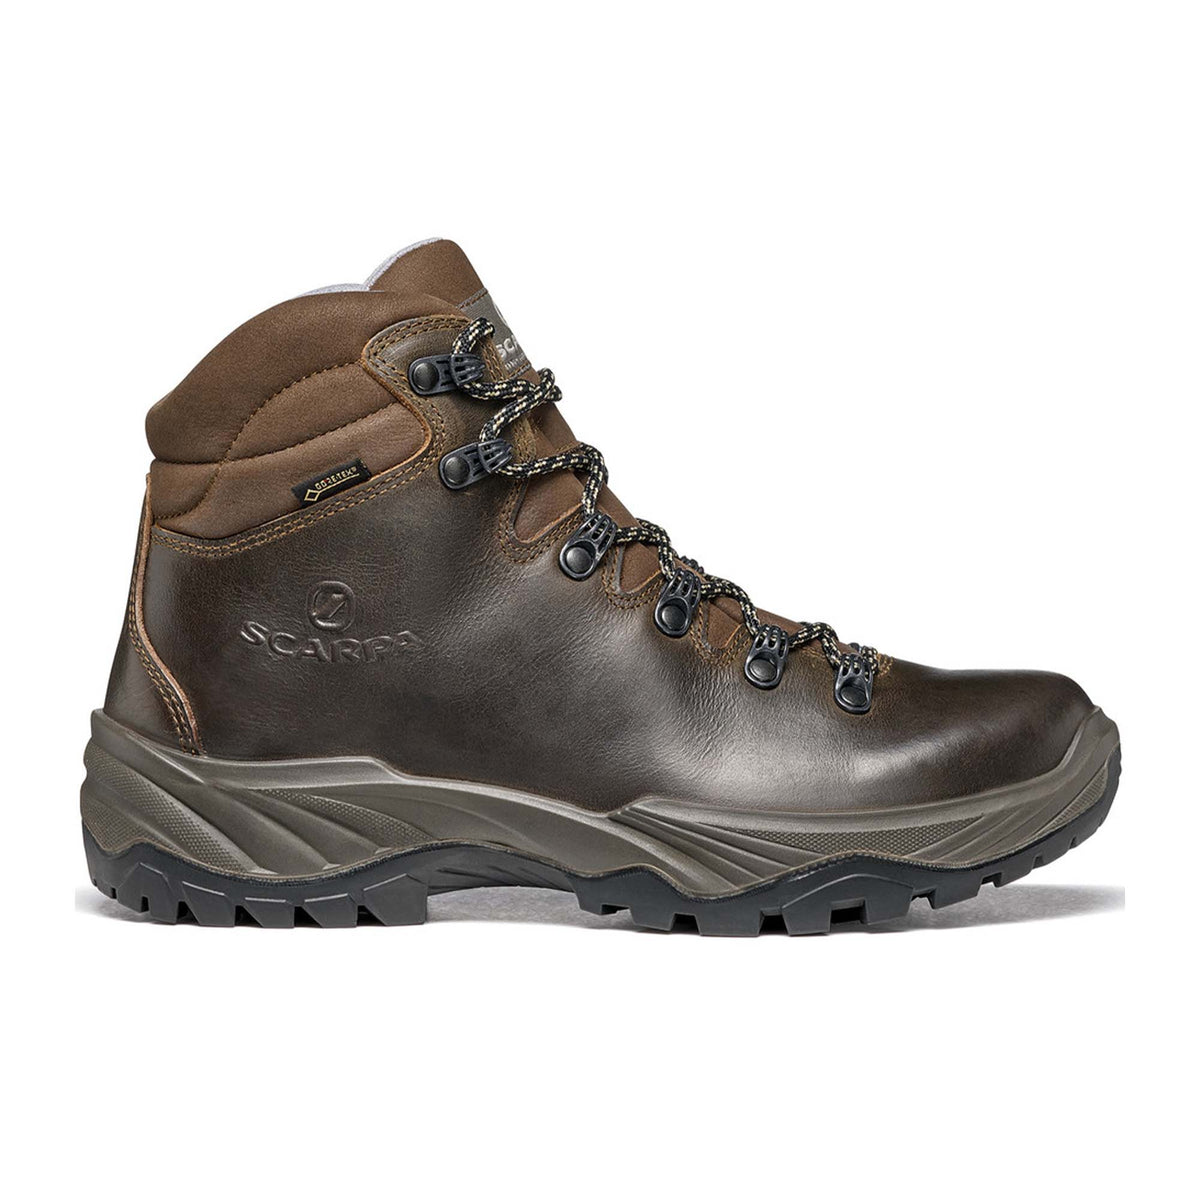
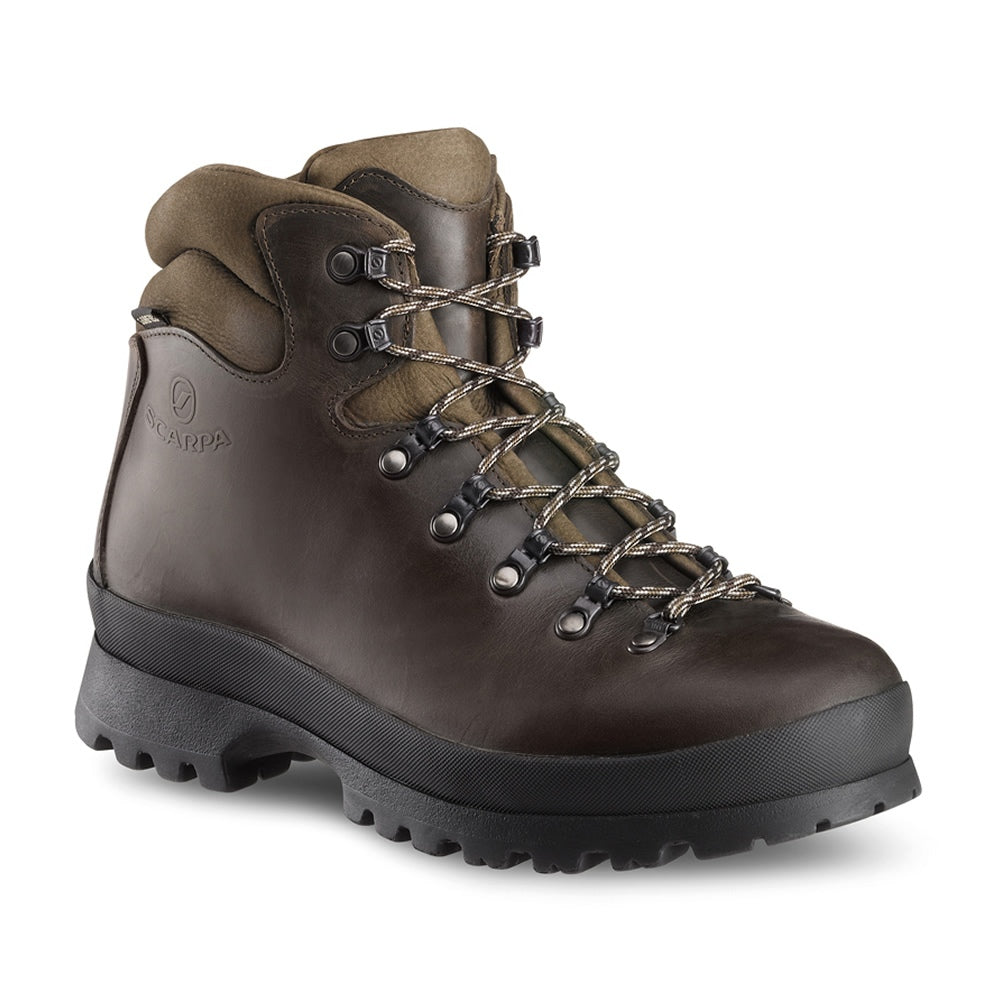
Having a fit or discomfort issue with your boots? Adjusting your lacing can make a huge difference to how a boot fits and performs. In this blog, we are discussing the best techniques for lacing your walking boots to help improve 2 potential issues, the first is heel slip, the second is fit.
Ideally you will start with a boot that fits you perfectly, please have a look at our boot fitting guide here.
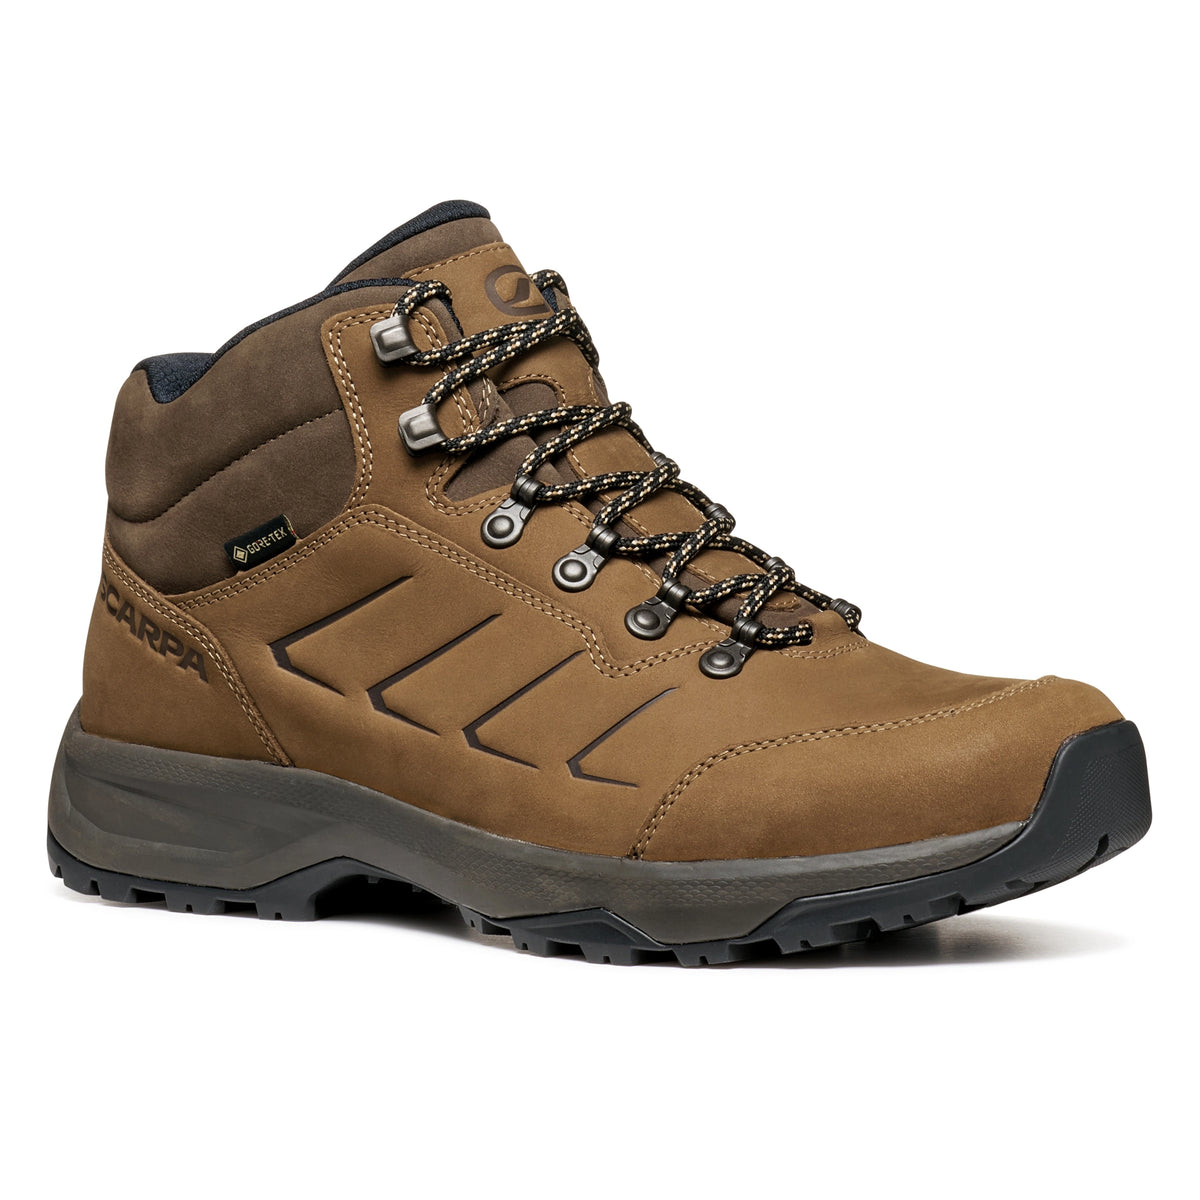
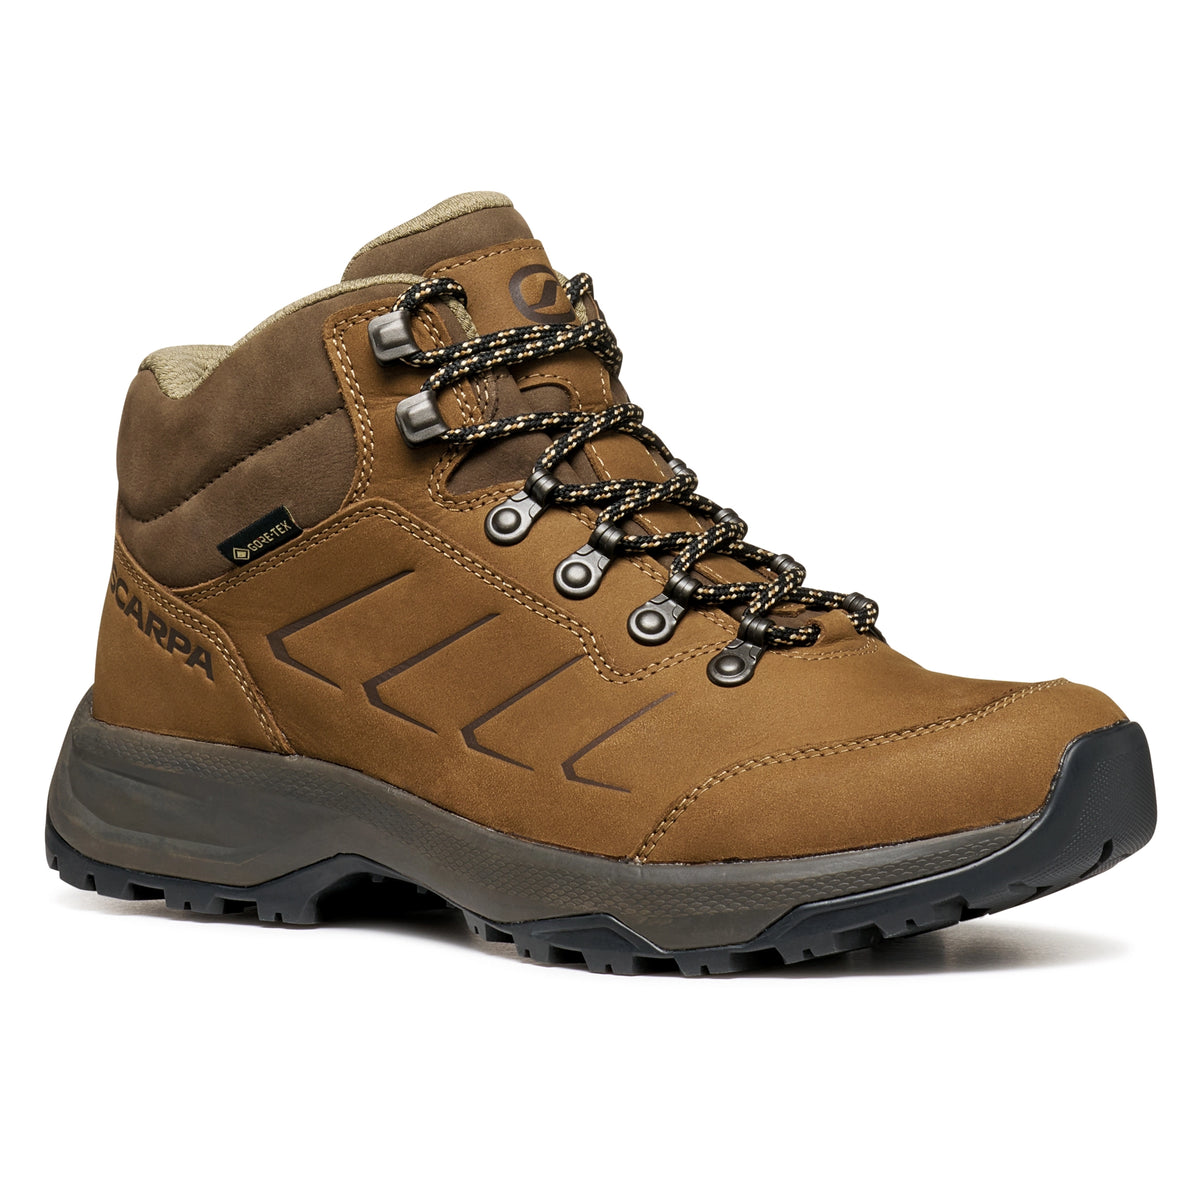
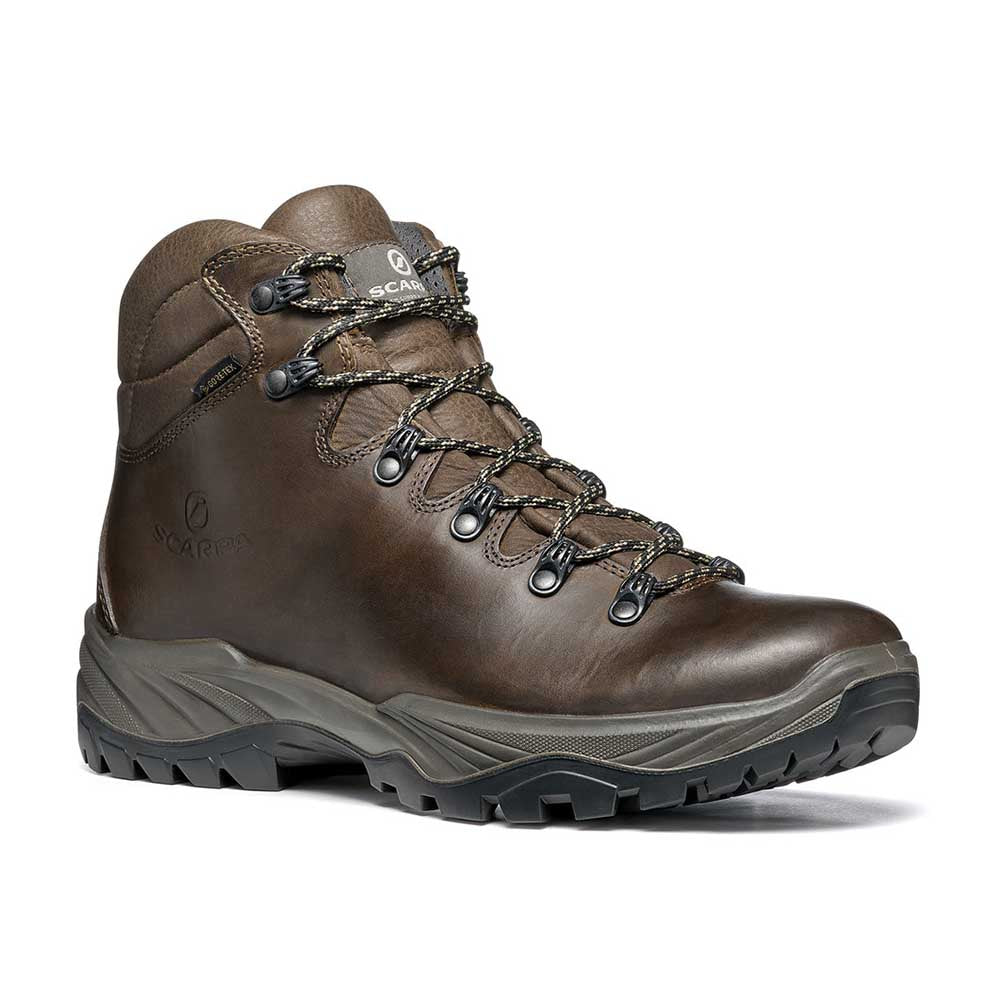
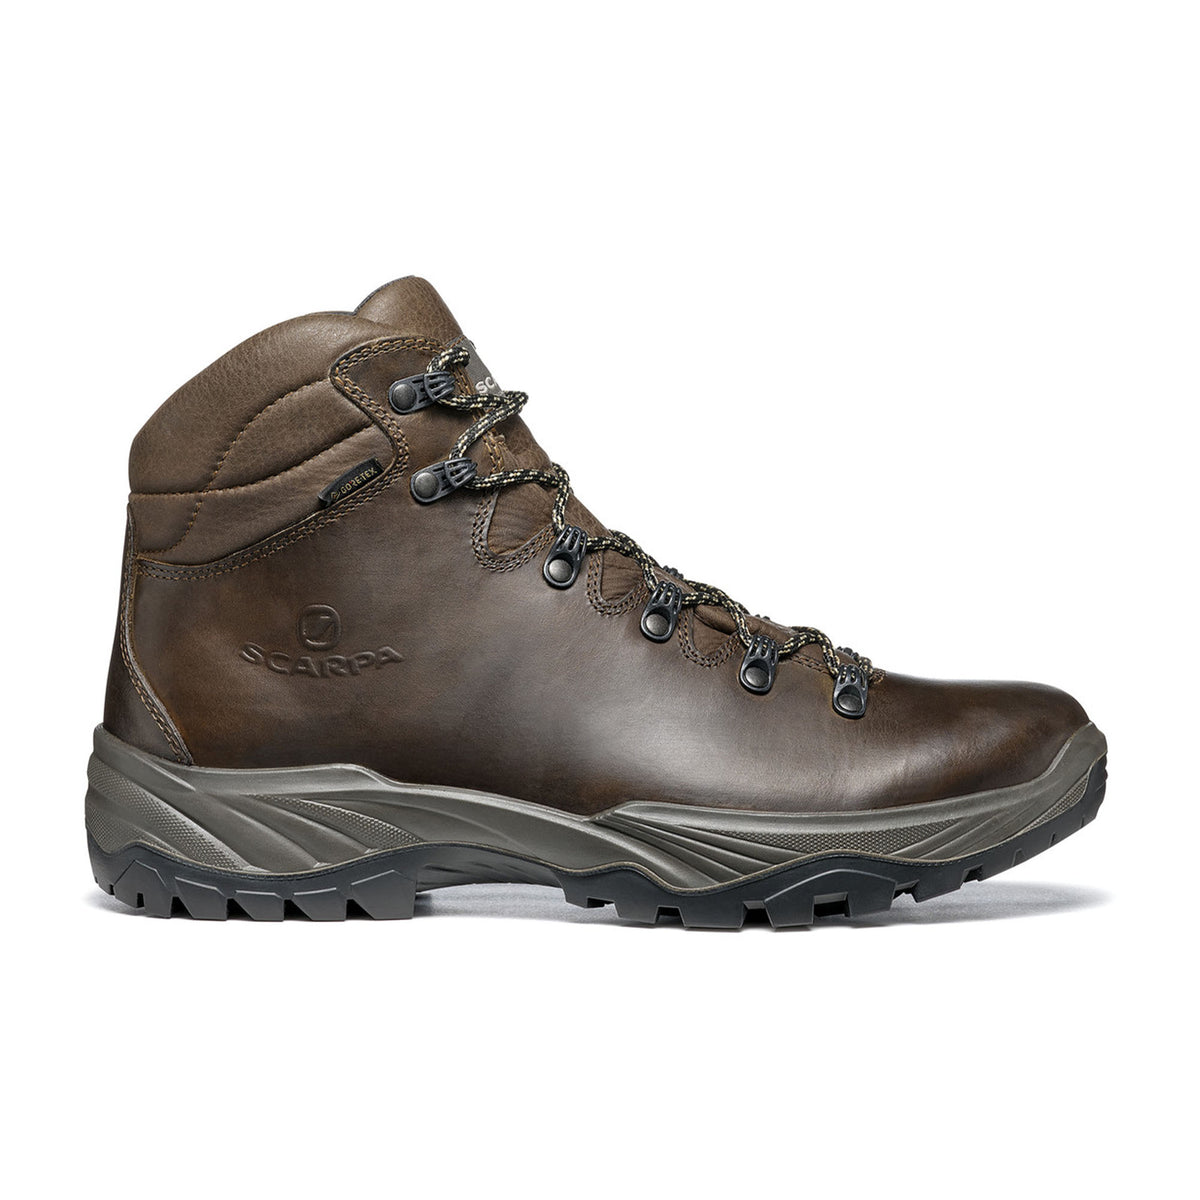
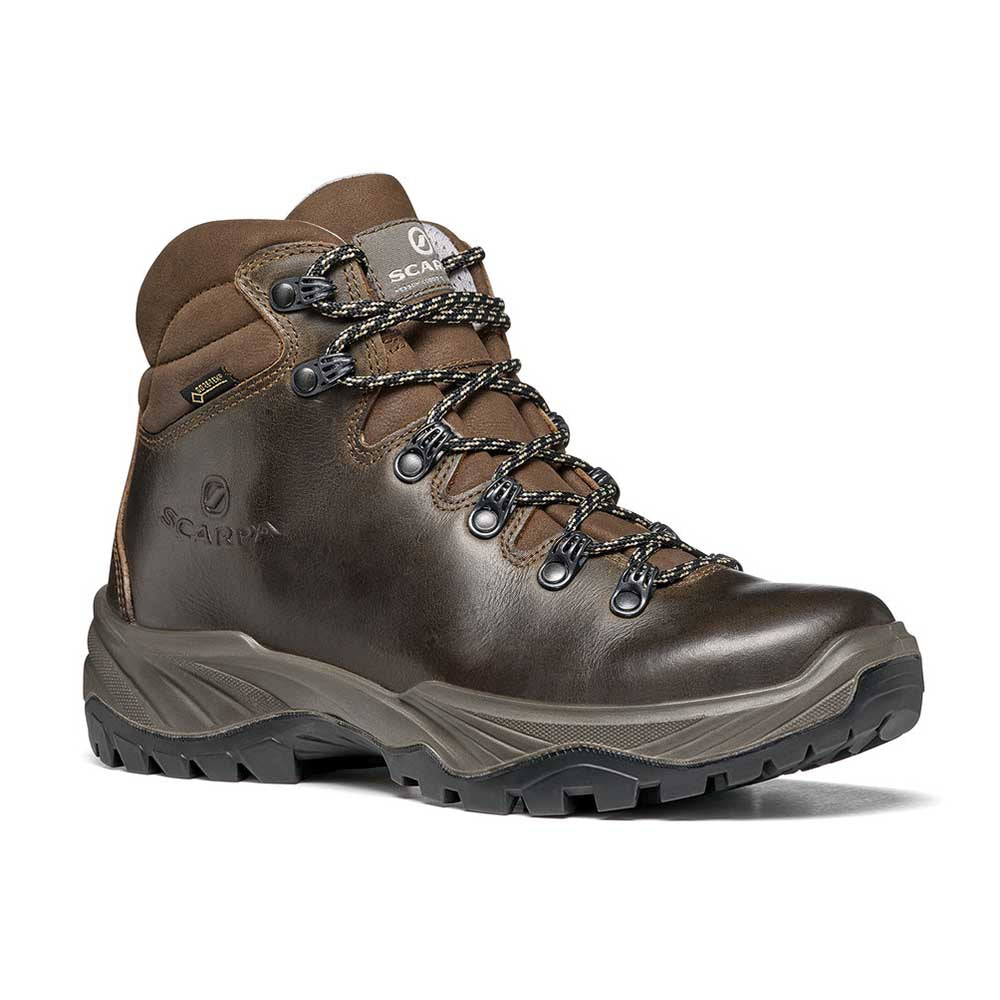
It is worth noting that there are many different names for the techniques online, we have used the names known to our inhouse experts. Lacing techniques can also differ depending on the number of eyelets, in our examples we have used the SCARPA SL Activ, which has 7 eyelets.
First we will run through some useful knots that we will be using for the techniques.
The Surgeons Knot |
|
|
This is an essential knot that can be used either on its own, or in conjunction with some other methods. It is a knot that is quick and easy to do, but allows for superior customisation of different parts of the boot. For example, you can keep the lower lacing tight and loosen the upper. Similar to the standard granny knot but with one more wrap, it provides superior hold and stays tight. |
 |
The Double Bow |
|
|
The double bow is a great knot to be used instead of a normal bow. It allows for a better hold as there is more friction in the system, but it is also faster and easier to undo if you need further adjustment. Definitely not essential to use, but is a useful knot to know and can be used for all your shoes. It can be undone by pulling the two loose ends. Step 1: Granny Knot Step 2: Create a loop like you normally would, then wrap the opposing end around twice. Step 3: Pull the lace through the double wrap to create the second bow |
|

If you are getting blisters on your heels, or just general discomfort around your heel or ankle, this could be due to the boot not holding your heel correctly.
Below we have correlated the best techniques to help negate this.
Technique 1: |
Criss-Cross + Surgeons Knot |
|
We couldn't not mention the classic criss-cross lacing, as there really isn't anything wrong with this method. It is great for frictionless adjustment, as it evenly tightens every area of the boot. Especially if you are finding there to be too much volume or space in the boots, this method is ideal for reducing the volume evenly and increasing foot hold. The only change we would make is adding a Surgeons knot into the system. This would be ideally placed across the lower ankle before you make your way up the boot. This will create more hold on the ankle preventing heel slip. Pros:
Cons:
|
 
|
Technique 2: |
Lacing Down |
|
It is great for reducing heel slip, and for taking pressure off of the shin. This method can be combined with a some of the other techniques that we will mention later. Step 1: Criss-cross the laces up to the ankle Step 2: Skip at least one eyelet and go to the top Step 3: Criss-cross back down to the ankle and tie the knot there Pros
Cons
|
 
|
Technique 3: |
The Heel Lock |
|
Similar to above, this technique is aiming to create more hold on the ankle. You are essentially creating a more widespread area of pressure from the laces hopefully allowing you to lace the boots extra tight without restricting blood flow. Step 1: Criss-cross to the base of the ankle. Step 2: Lace vertically up one eyelet Step 3: Cross back down and hook through the opposing lace Step 4: Criss-cross to the top and tie off as normal Pros
Cons
|
 
|

If you are find your boots too narrow, or are getting pressure points in unwanted areas, then using your laces to adjust the fit of the boot is extremely effective.
Technique 1: |
Window/Boxing |
|
This technique is fantastic for creating extra space in specific areas of your boot. It is ideal for people suffering with bunions or similar conditions. The lacing window can be moved to your preferred location on the boot and be adjusted in size, whether you skip one eyelet or more. Using in conjunction with a surgeons knot can help prevent any unwanted movement. Step 1: Locate the area of the boot where you would like to create extra space and criss-cross to this point. Step 2: Then vertically lace past the problem area Step 3: Surgeons knot, then criss-cross to the top Pros
Cons
|
 
|
Technique 2: |
Military lacing |
|
The military lacing technique allows for better and a more even hold across the boot. It can be combined with the surgeons knot to create different levels of tension throughout the length of the boot. Step 1: Vertically lace from the bottom through 2 eyelets Step 2: Once you have reached the ankle, complete a surgeons knot Step 3: Continue to the top Pros
Cons
|
 
|
Technique 3: |
The Ladder Lace |
|
This lacing technique not only looks good, but also helps create a super tight lacing system that holds the tension throughout the boot really well. Step 1: Lace both sides vertically Step 2: Cross back over and thread through the opposing vertical lace Step 3: After threading under the vertical lace go back vertically again Step 4: Repeat to the top Pros
Cons
|
 
|
You can also combine some of the above options, please see below:
Heel Lock and Window Lacing
|
Military lacing and Lacing Down
|
Summary
Hopefully you have managed to find a lacing system to best suit your needs. If you need any further help with lacing or with any other footwear related queries, please contact our expert team through our website.
