Interested in giving scrambling a try? Scarpa Athlete Di Gilbert takes you through how to get started in our guide to scrambling.
When I starting my mountain adventures, there wasn’t a term known as ‘scrambling’. You either went rock climbing or hill walking.
Rock climbing is associated with ropes, a climbing buddy, technical equipment and most importantly a knowledge of how it all works. The objective is a named route and more often than not, summit’s aren’t high on the agenda. Progress would normally be pretty slow as you alternate between climbing or belaying.
Hill walking is associated with reaching a summit or view point, and is either done solo or in small groups. Travel is generally continuous, with brief pauses either to admire the views, take photos or consume food. No specialised equipment is required except your normal hill gear.

In my early mountain years, I soon discovered that there were, dare I admit, dull and boring hill walks and ones which provided more stimuli. These interesting ones required me to take my hands out my pockets and consciously think about where I was stepping and what I was pulling on. One more than one occasion I would hear myself saying “better not fall here”.
I discovered in later years, that I had unknowingly been ‘scrambling’. It could be described as the grey area between rock climbing and hill walking.
What is scrambling?
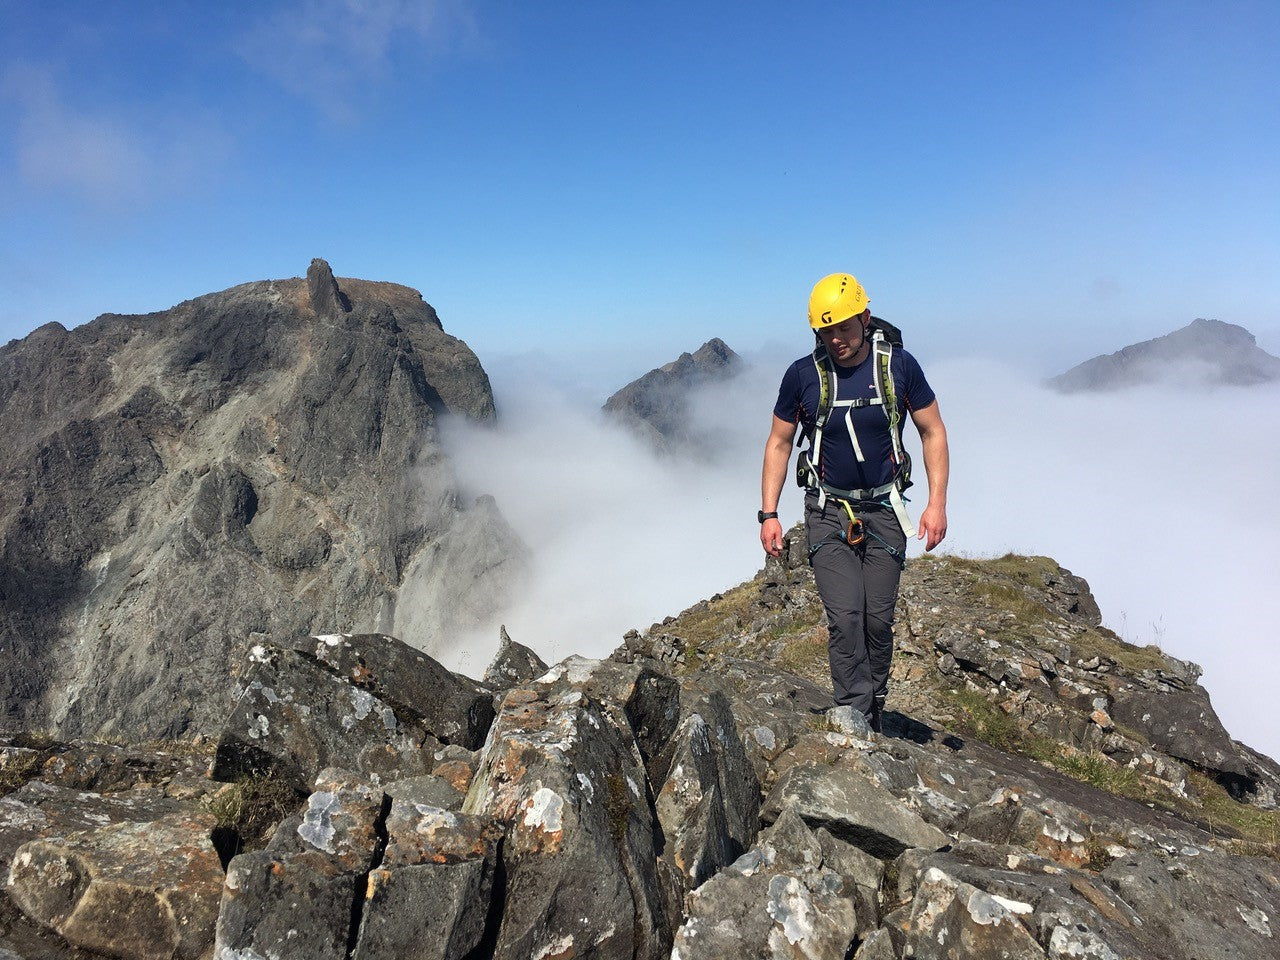
Scrambling is an exhilarating activity, and many people seek out scrambles the same way that climbers seek out specific routes and hill walkers seek out particular summits. It’s a fantastic way to travel over great distances, unhindered by climbing equipment, on interesting and sometimes challenging terrain.
However, scrambling is potentially one of the most hazardous of all mountain disciplines since we are looking for exposed and steep sections normally in high consequential terrain. We have to make constant decisions about route choice, conditions of the day, whether to deploy the rope, other people in our vicinity and whether we can reverse what we have climbed up.
If your new to scrambling here’s a few top tips to help you get your head around a very interesting and exhilarating world.
Grades
Scrambling routes can be found in specific scrambling guide books or online and are graded 1 – 3 in terms of difficulty, 1 being the easiest. As a general rule of thumb, Grade 1 scrambles are normally straightforward and require no extra equipment.
Grade 2 scrambles are the funny in-between ones – some might prefer a rope for security and others might not.
Grade 3 are the most thought provoking and can also be called very easy rock climbs. Unless you are confident on exposed terrain, most people will prefer the security of a harness, rope, helmet and some technical equipment.
As a rule of thumb, for Grade 1 scrambles, I am normally happy to pass my walking poles up or down to overcome the short section but for Grade 2 & 3, my poles are definitely stored away on my rucksack so that I have one less thing to think about.

Pick your day wisely
I want to enjoy my scrambling days, and if the rock is greasy or wet everything becomes far more serious. Suddenly a straightforward Grade 1 can become a very different proposition and a Grade 3 can turn into a major epic.
Certain types of rock becomes lethal when wet and are best avoided. I don’t want to have cold and wet hands, with water dribbling down the inside of my sleeves as I raise my arms up. If it’s cold, miserable and wet, scrambling is not the chosen activity for the day.
Footwear
If my selected route is mainly a heather, pathless walk with a short section of scrambling, I’ll use my normal hill walking footwear.
If my selected route is mainly approached by a well-made constructed path and I’ll be on rock for the vast majority of the day I will opt for a pair of approach shoes or a dedicated pair of scrambling boots.
Approach shoes normally have a very grippy sole, however provide no ankle support, and scrambling boots have a stiffer edge which are great for small foot placements.
I prefer approach shoes because they are more comfortable but they generally don’t last as long as a boot. To avoid the issue of small pebbles and scree getting into your shoes I like to wear short gaiters.
Be your own boss
With the amount of available information on the internet it is very easy to be convinced that something is either way above or below your abilities. Build up your own knowledge base and make your own decisions.
I prefer to read factual information as opposed to individual trip reports, especially if I don’t know who the author is. I like looking at pictures and then relate these to maps and guide book descriptions. If it is a particularly complex scramble, I’ll take a photo on my camera or photocopy pages from guide books.

Route finding versus navigation
Scrambling relies much more on your ability to route find and this improves with practice. Navigation will tell you which direction you will be aiming but it won’t tell you how to negotiate a steep, daunting, dark looming chunk of rock blocking the way.
When I am on scrambling terrain, I try to maintain an efficient slow and steady pace. This gives me enough time to think about my route choice and where to place hands and feet. It gives me time to focus on the route ahead without added unnecessary time pressure. Before committing to a section, always ask yourself if it is possible to reverse the route, especially if you can’t see what the exit is like.
In summary, if you are thinking about getting into scrambling, think about the following 5 things:
- Do your research.
- Do lots and lots of Grade 1 scrambles.
- Join more experienced groups (clubs or friends) for your first forays into Grade 2 terrain.
- Do lots and lots of Grade 2 scrambles.
- Consider gaining professional instruction in the use of technical equipment before launching onto Grade 3 terrain. A couple of days instruction could open a world new world to you.
Finally, assume every single handhold is detached from the mountain so always do a small pull test before committing. Don’t be frightened to gently kick your foothold before committing to that either. Sometimes it’s the simplest things that make the biggest difference.
About Di
Di Gilbert is a fully qualified Winter Mountaineering and Climbing Instructor based in the Cairngorm National Park.
For nearly 30 years she has been providing training and instruction to a broad range of mountain users ranging from hill walkers, scramblers and climbers to winter mountaineers and climbers, alpinists and individuals training for 8000m peaks. For more information, please see www.digilbert.co.uk.


